Army Response 
Over the Spring, Scott moved large forces in a cumbersome strategy. His soldiers consumed rations and cleared roads, but they never seemed to attack. Meanwhile, the Seminoles perfected guerilla warfare, inflicting a series of humiliations. In March, the allies pinned down a thousand soldiers for eight days on the Withlacoochee, nearly annihilating
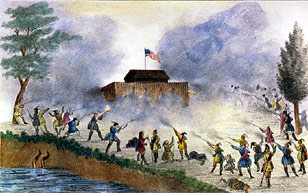
a command even larger than Major Dade's. A supply garrison suffered the same fate in April, when Seminoles laid siege to their blockhouse for two
months.
  
Sources:
Hitchcock 86-91, Smith Sketch 243-47, Cohen 195-6. ©
Part 2, War: l |